S & I finally got the opportunity to go to Alinea after years of wanting to do so! It was every bit the amazing, quirky, elegant, mind-twisting experience we were expecting. How many meals have made you laugh quizzically or puzzle over what you are supposed to eat? This meal provoked some reactions I have never had to food.
I didn't have my phone camera at the ready to snap a photo of the Alinea entrance, but it's an important aspect of the experience. You enter through the plain, unmarked doorway and enter a narrow black hallway with red lighting. You are immediately disoriented, your confusion of whether you are in the right place amplified by the ambiguous hallway space. As you cautiously walk through it, suddenly, what you thought was a wall to your left is in fact automatic doors, that sweep open to the restaurant with great aplomb. "Welcome," says a stylishly dressed waiter. "We've been waiting for you."
As we stepped into the restaurant, to our right we saw and heard the bustling, brightly lit kitchen, and to our left, the serene and almost plain dining room decorated in grays, blacks, and whites. We marveled at the kitchen, and the waitstaff informed us that it was fine to peep in, but not to get in the kitchen's way; "They're animals," one waiter (half-)joked.
Then, we were escorted to our table, and our 15-course journey commenced.
.jpg) |
Course 1: Brioche toast foam, Smoke pearls, Egg yolk emulsion, Red onion & caper gel
This was our opening course, and its most important characteristic was not flavor, but rather, texture. S says it set us up for the meal, telegraphing that this would be a multi-sensory and even challenging experience. He was right. |
Course 2: Salsify jerky camouflaged in branches
Our servers invited us to "forage" for our food, and find the two pieces of salsify jerky hidden in the nest of branches. The salsify would be soft, they advised, and not taste like sticks. We were successful foragers, and escaped this course with teeth intact. The salsify jerky reminded me of Korean burdock root in both taste and texture, smoky, umami, and concentrated.
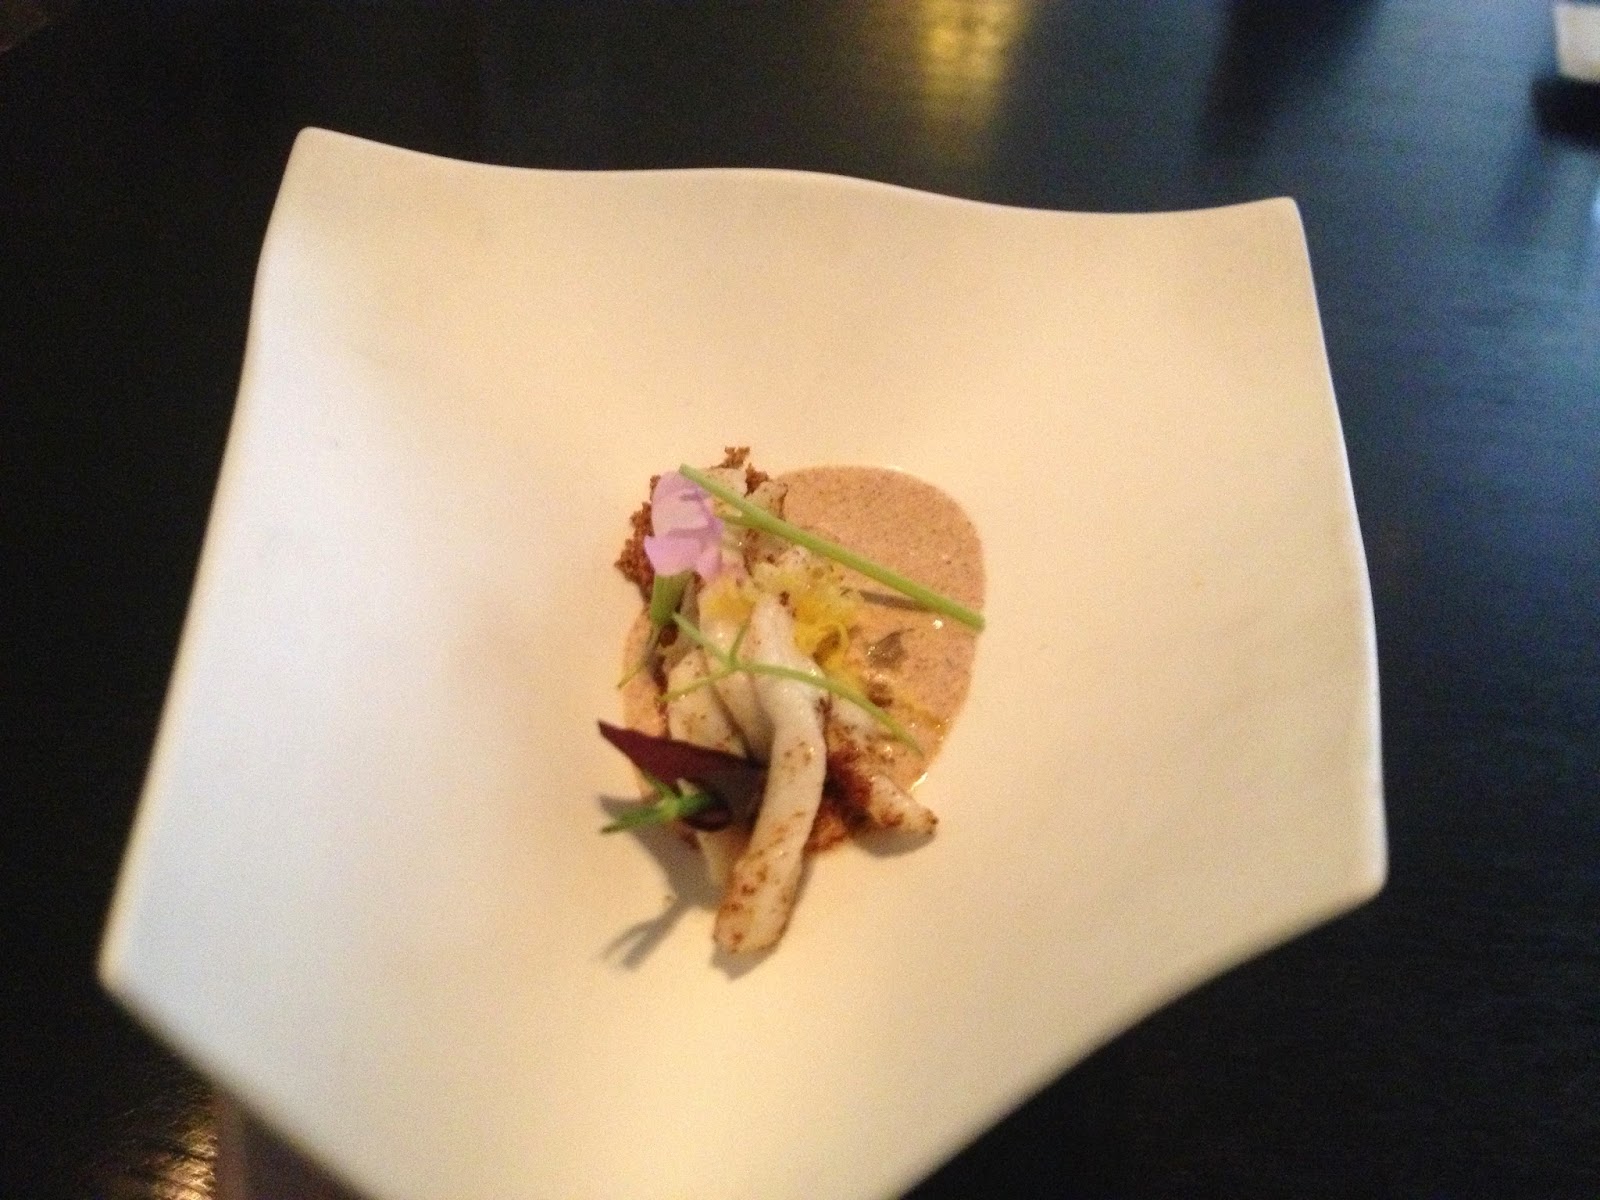
Course 3: Braised skate wing, Brown butter emulsion, Bread crumbs, oxalis flower, lemon peel, chervil
This was a tasty course, and food-wise, not especially challenging, just yummy. Our only complaint was that we wanted more. However, our favorite part of this course was in fact the serving vessel, a plate molded to look like a napkin. We held the "napkin" in our non-dominant hand rather than placing the plate on the table.
Course 4: Ashed goat cheese, heirloom tomato cubes, raspberry jam, essence of licorice graffiti, black garlic paste, pistachio, tarragon gel
"Fresh off the Chicago pavement," we were warned. The cement serving vessel was whimsical, and the pile of ashed goat cheese with goodies inside was mysterious. The grey ash color was created by grinding up the rind of the goat cheese. My favorite part of this dish was the licorice spray paint, though it was hard to get more than a hint of it while scraping the pavement with your fork.
Course 5: Torched corn poached in butter, White corn grits with manchego, Virginia ham, Australian truffle, Sherry vinegar gel
The order of the photos here is important. At first, the aluminum can was placed on the table without a word. S and I looked at each other confusedly. The can looked empty. I saw a few flakes on the bottom of the can. Was I supposed to eat this? I asked S. He said, "You first." I grabbed a flake and put it in my mouth. It tasted like burnt corn husk. It was. "I wouldn't go digging in there if I were you," a waiter quipped. S chortled; he had been spared. I had been punked. The waiter set the real course before us, the corn served on a charred log. The can was the receptacle for the husks. While I felt sheepish for a few seconds, as I dug into the corn, I soon forgot my gaffe. This was my favorite course of the night, it was unbelievably savory, rich, and harmonious. I have had some good grits during my stint in Atlanta, but these grits were like none other, infused with truffle flecks and dotted with acidic sherry vinegar gel bits om nom nom nom. Sorry Acheson, point, Achatz.

Course 6: Grenadine braised rhubarb, shaved raw rhubarb, shaved celery stalk, celery root, red wine reduction with sugar, celery root custard
This course was fine, not our favorite but it had some nice components. The red wine reduction and celery root custard were delicious, and this course solved the mystery of what was hanging above the table (sorry I didn't get a picture of it)--a single rhubarb stem and leaf, plucked from the sky for this course to be shaved into the dish as garnish.
Course 7: Lobster, saffron curry, compressed cucumber, cauliflower custard with vanilla and fried fennel, coconut paste, hibiscus/grapefruit pearls, freeze dried rice cracker, earl grey tea cubes, aerated lobster stock reduction.
This was another fun and delicious course and surprisingly the lobster was not the most wonderful component on the plate. Our favorite thing was actually the cauliflower custard, who would have thought that cauliflower and vanilla were a match made in heaven?
Course 8: "Chinese-take out": Fried veal sweetbreads in Valencia orange sauce, mustard seeds, cilantro, fried garlic scapes, chestnut, heart of palm, carrot emulsion, chestnut purée, gingko nut, and cinnamon chopsticks (lit on fire).
I really enjoyed the whimsical presentation of this dish, a takeout container wrapped in a plastic bag, with smoking cinnamon "chopsticks" to use as utensils. The veal sweetbreads mimicked orange chicken in a fun way, though my personal favorite component to the dish was the crunchy heart of palm. Though it was kind of hard to use cinnamon sticks to eat with, that didn't stop S and I from scraping our takeout box clean.
Course 9: Lily bulb with rambutan, begonia pearls, and distillation of caviar lime
This palate cleanser was our least favorite course, as it was incredibly floral. I find "floral" the most challenging flavor to enjoy, because I can't shake the feeling that I'm eating potpourri.
Course 10: "Campfire": Kurobuta pork and parsnip wrapped in kombu camouflage and lit on fire, black trumpet mushroom, kombu noodles.
Wary from the corn course, when our servers set what looked like fire kindling down on our table, S & I did not touch it. Indeed, when the server came around to set the kindling on fire, we were glad that we had left the pile alone. After a few minutes, a server came by to dismantle the "campfire," and show us that our next course had actually been hiding in plain sight. As he picked out the pieces of kindling that were actually food, he explained that the Kurobuta pork and parsnip had been wrapped in sheets of kombu which protected them from getting utterly charred, though the meat and root vegetable were plenty blackened from the fire. The pork belly and parsnip were good, but not exceptional, because we have had good pork belly and parsnip elsewhere; S & I were most excited about the yummy kombu noodles on the side.
Course 11: "Hot potato, cold potato" -- Cold yukon gold potato soup, Hot yukon gold potato sphere, black truffle, butter, chive
What an utterly delicious and fun bite this was! This rivaled the corn for my favorite course. We were instructed to eat this dish quickly, as it was the most temperature sensitive. The hot potato sphere and other components were balanced above the cold soup with a pin, and we were supposed to pull the pin out, and down the shot of soup in one bite as soon as we could. I managed to snap a photo of it before I downed it. I have already been anti-truffle oil for awhile but my experiences at Alinea with real truffles have strengthened my position--the synthetic stuff is an offensive imitation and downright culinary abomination.
Course 12: Duck, Foie gras dumplings, Duck mousseline dumplings, Dragon's breath ("wok essence": shallot, garlic, chili oil in pill form and on dry ice as aroma), lobster mushroom.
This was a fine course but the most interesting part about it was the dramatic Dragon's breath smoke wafting over the table. As we ate, the aroma of wok essence engaged our sense of smell.
Course 13: Blueberries, lemon paste, greek yogurt paste, extracted gum, lilac, sorrel, freeze-dried blueberry, cassis gel
When you were a kid, did you ever want to eat bubble gum? This course fulfilled that childhood fantasy, as it featured cold noodles of what-was-once-Bubble-yum bubble gum, complementing an otherwise rather tart plate of blueberry and lemon flavors. However, like many things you dream about as a kid, the reality does not necessarily measure up to the fantasy. I couldn't get over the odd feeling that I shouldn't be swallowing the gum, and thus I left some of the Bubble yum noodles on the plate. I was really full at this point anyway, and wanted to preserve some room for the final two courses.
Course 14: Green apple taffy balloon filled with helium
S & I thought this course was utter magic. This is the course that made us laugh hysterically. We were instructed to take off our glasses, and this proved to be excellent advice. We were each handed a balloon and invited to "kiss" the balloon and suck in the helium and taffy, to finish by consuming the green apple string. I survived the balloon unscathed, while S accidentally touched the balloon with his hand, creating a bit of a sticky but yummy mess.
Course 15: Tropical fruit painting - Smashed dry ice frozen coconut, passionfruit gelée, rum sauce, mango sauce, allspice sauce, kaffir lime candy wrapped in edible paper, caramelized banana, jackfruit, lychee sugar, bittersweet chocolate, sour cherry, golden pineapple
I had of course heard about the final dessert course at Alinea but it did not take away from the experience of having food art created in front of you. A chef from the kitchen came to our table and created this tropical fruit painting for us, atop a silicone canvas. It was so dramatic to have a dry-ice frozen coconut smashed before our eyes. The best sauce on the table was the rum sauce, as a perfect complement to the sweet coconut. Though we were exceedingly full at this point, that did not stop us from doing our job and cleaning our "plate" -- the table.


.jpg)


